Selected colour swatches
You can order up to 20 colour swatches
Painting Halloween pumpkins
As Halloween approaches, it's time to bring out the pumpkins.
But if carving isn't your thing, or you're looking for a mess-free alternative, pumpkin painting is a fun, creative way to decorate this spooky season.
Plus, painted pumpkins last longer, making them perfect for showing off all month.
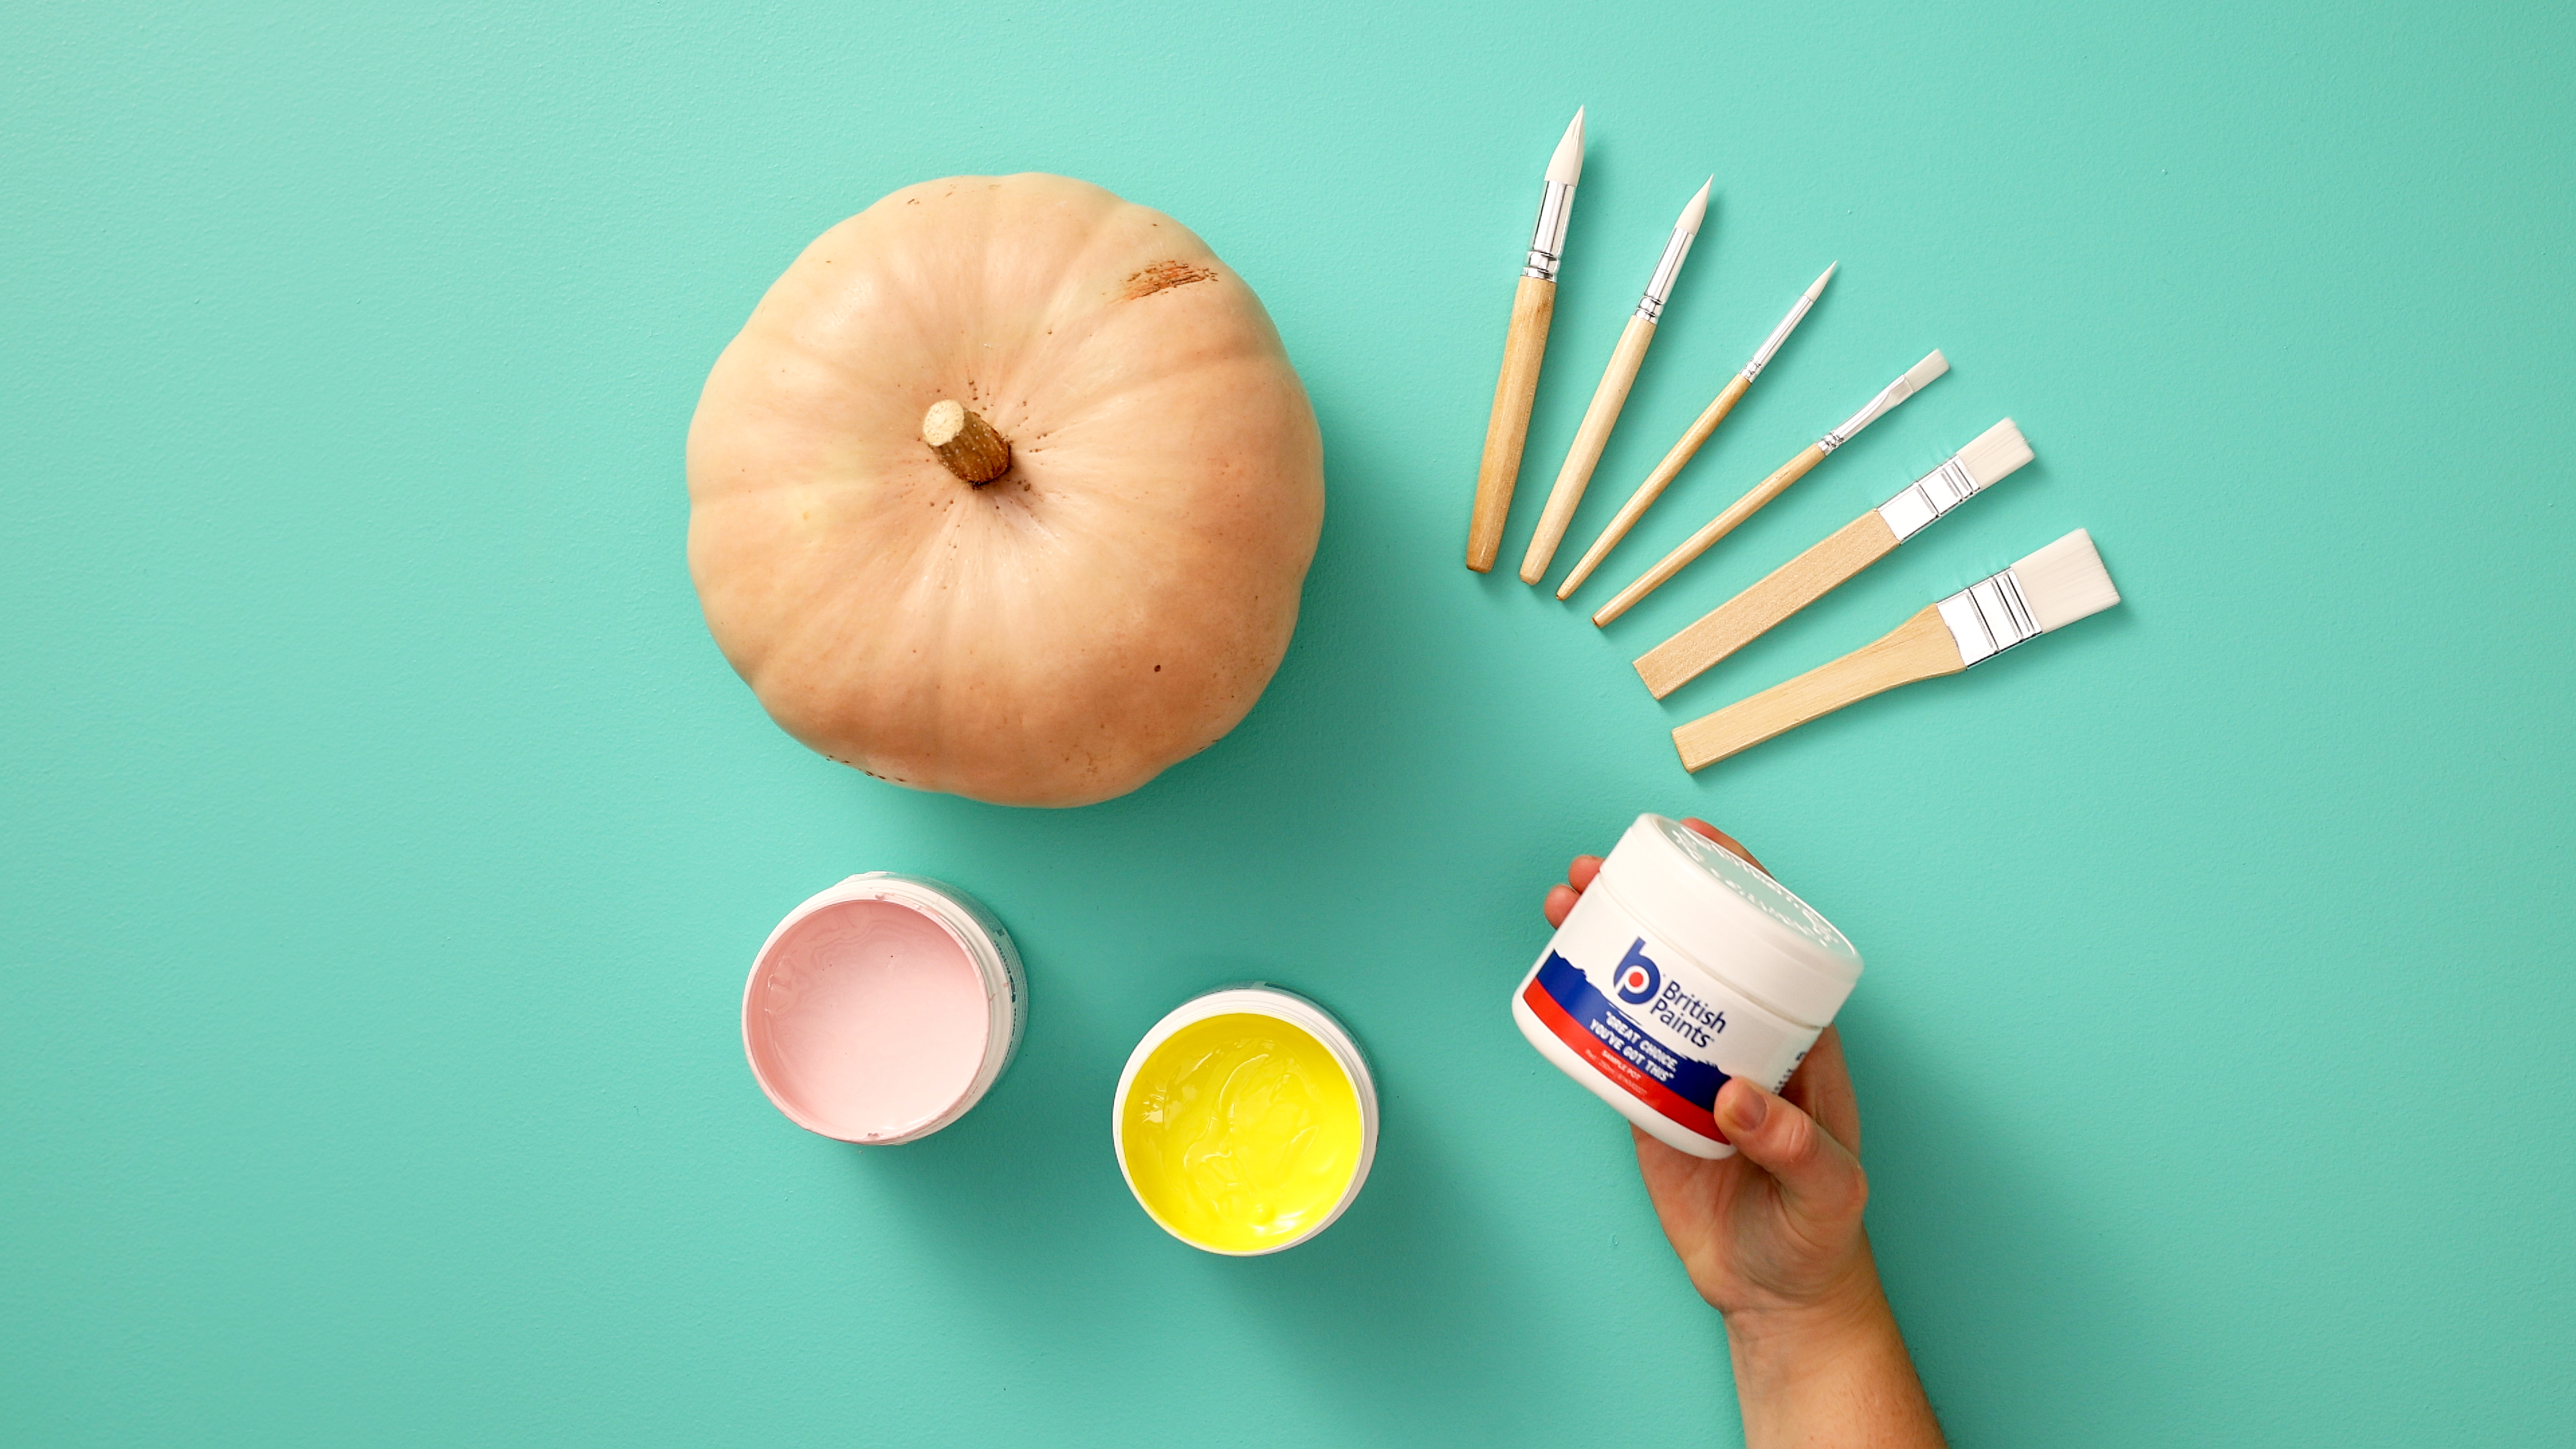
- Pick your pumpkin: start by choosing your perfect pumpkin. Any size and shape works, and the more unique, the better. Odd bumps and curves can add character to your design.
- Gather your supplies: some brushes, British Paints sample pots in your favourite colours and any other craft supplies, like glitter and tape or stencils for lines or fun shapes.
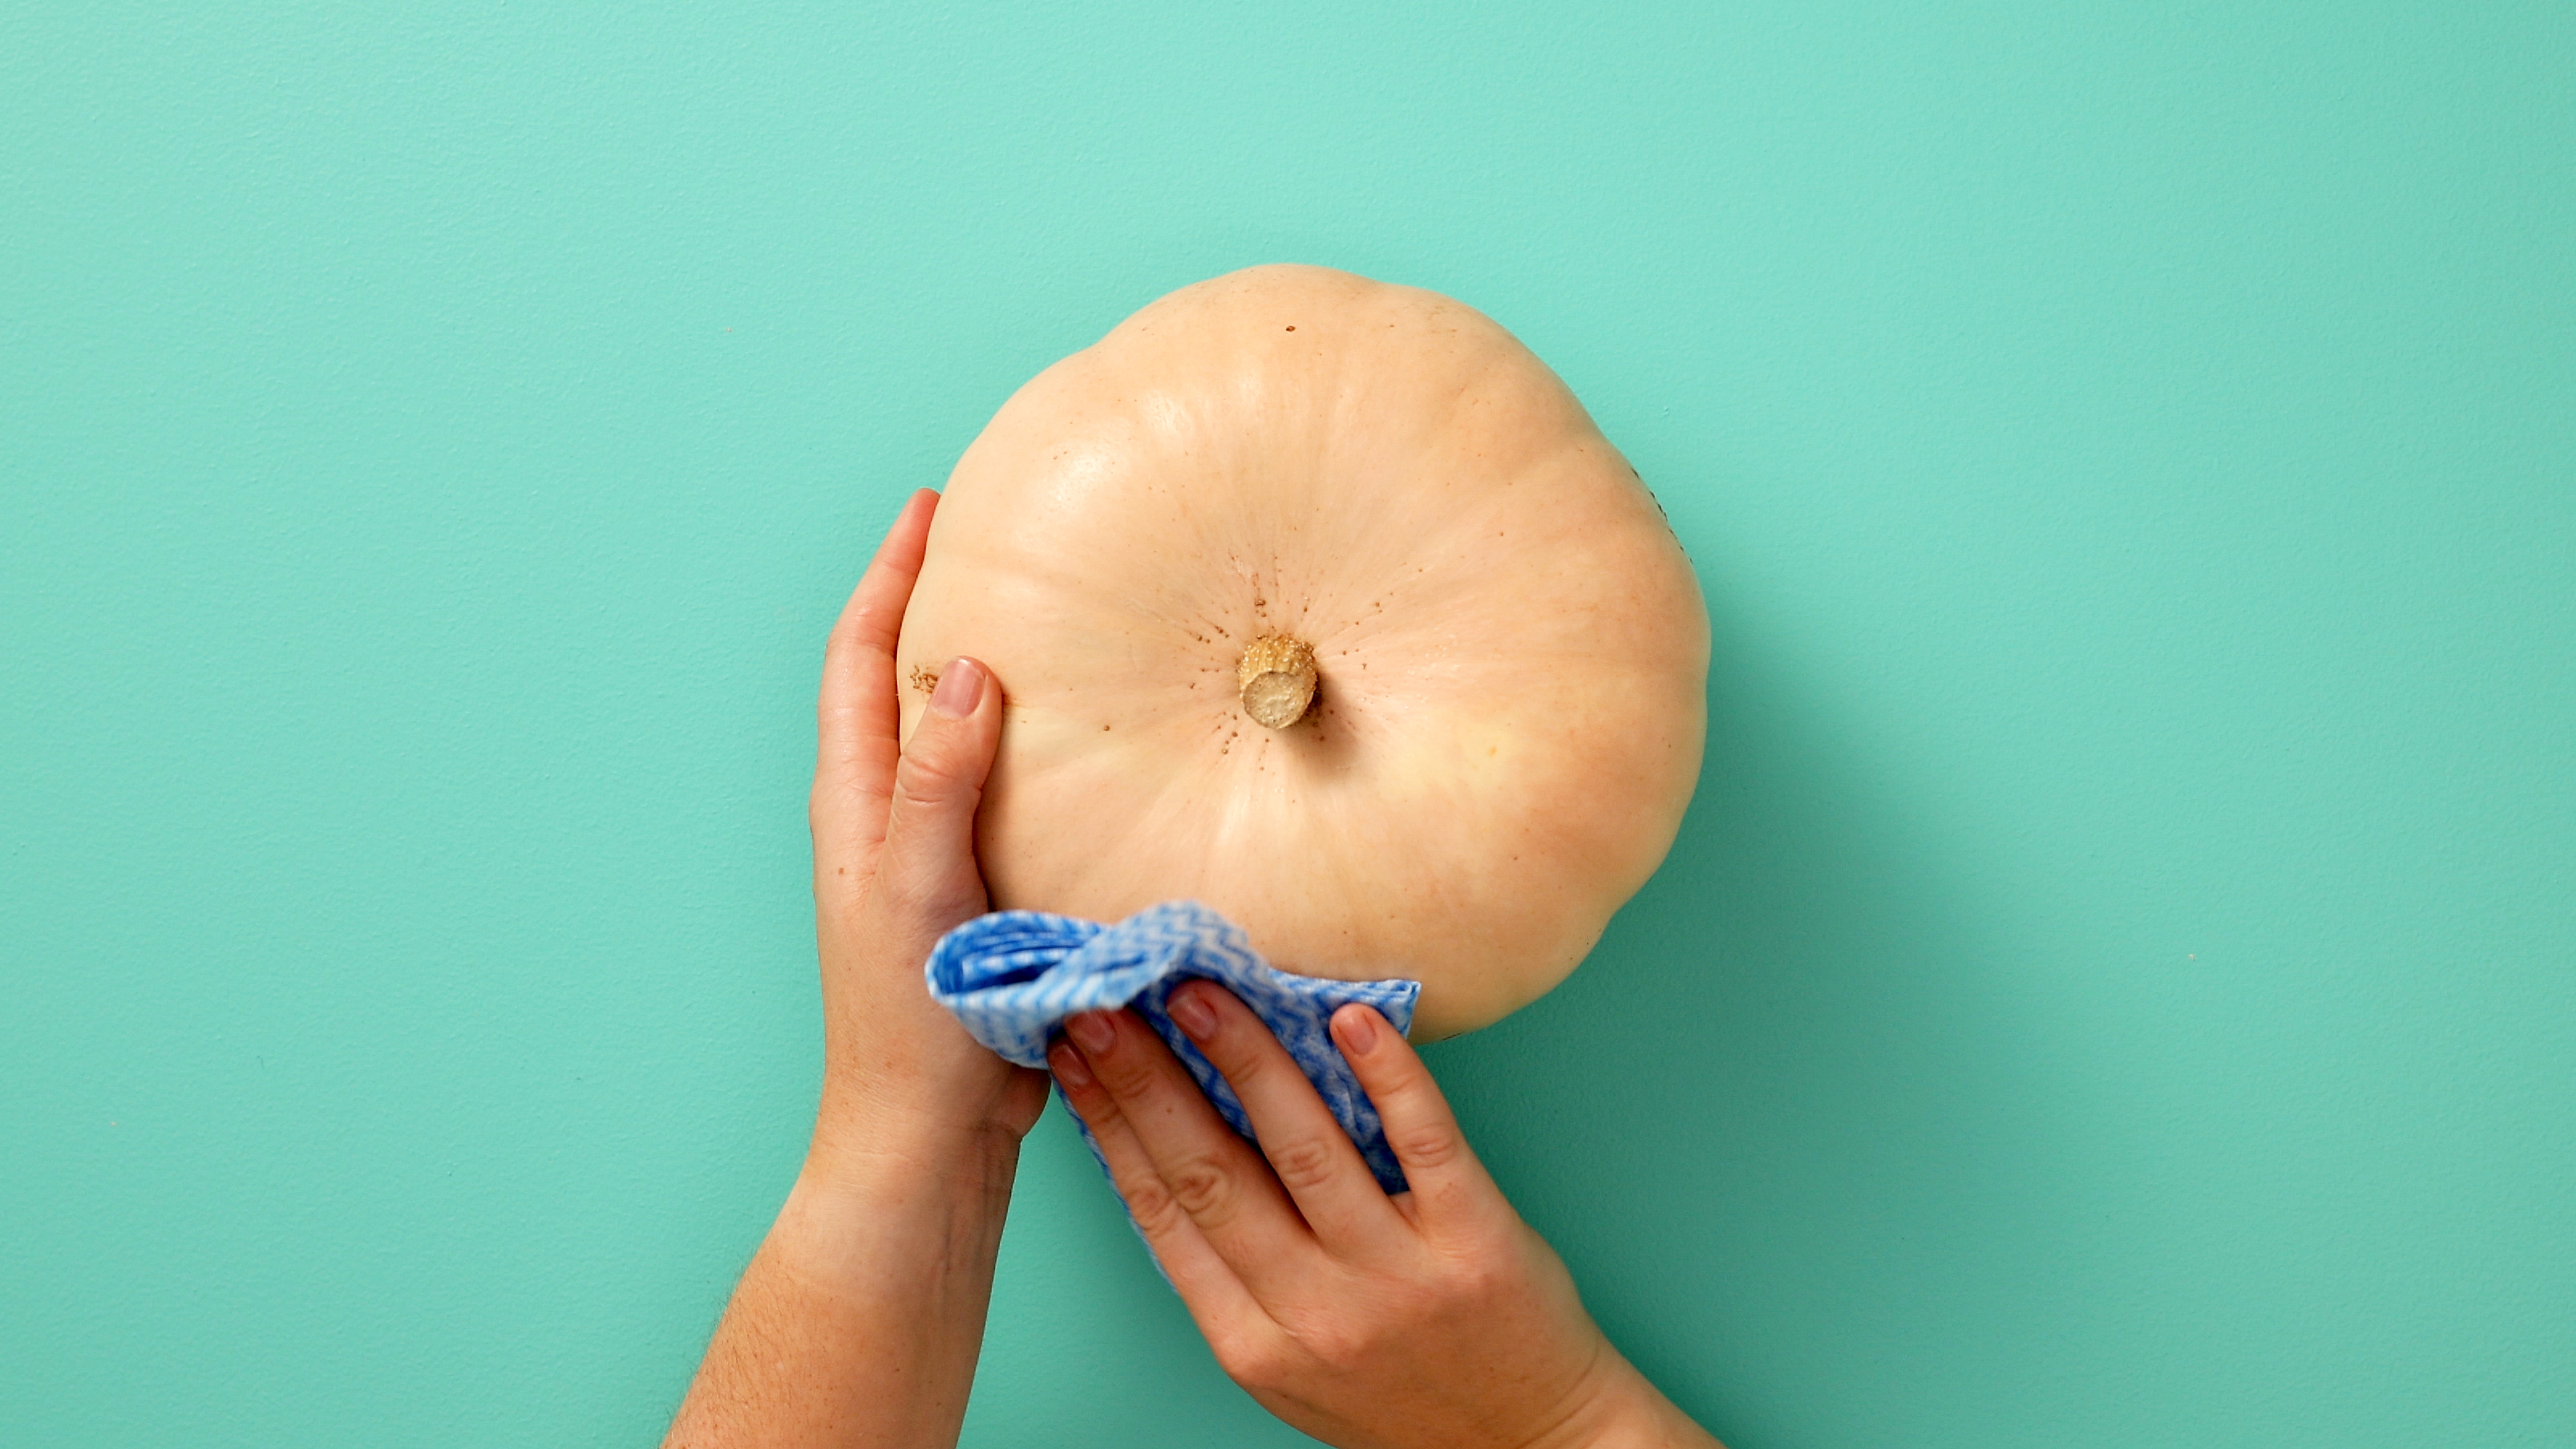
- Prepare your pumpkin: wipe your pumpkin clean with a damp cloth to remove any dirt then dry. This will help the paint stick to the pumpkin.
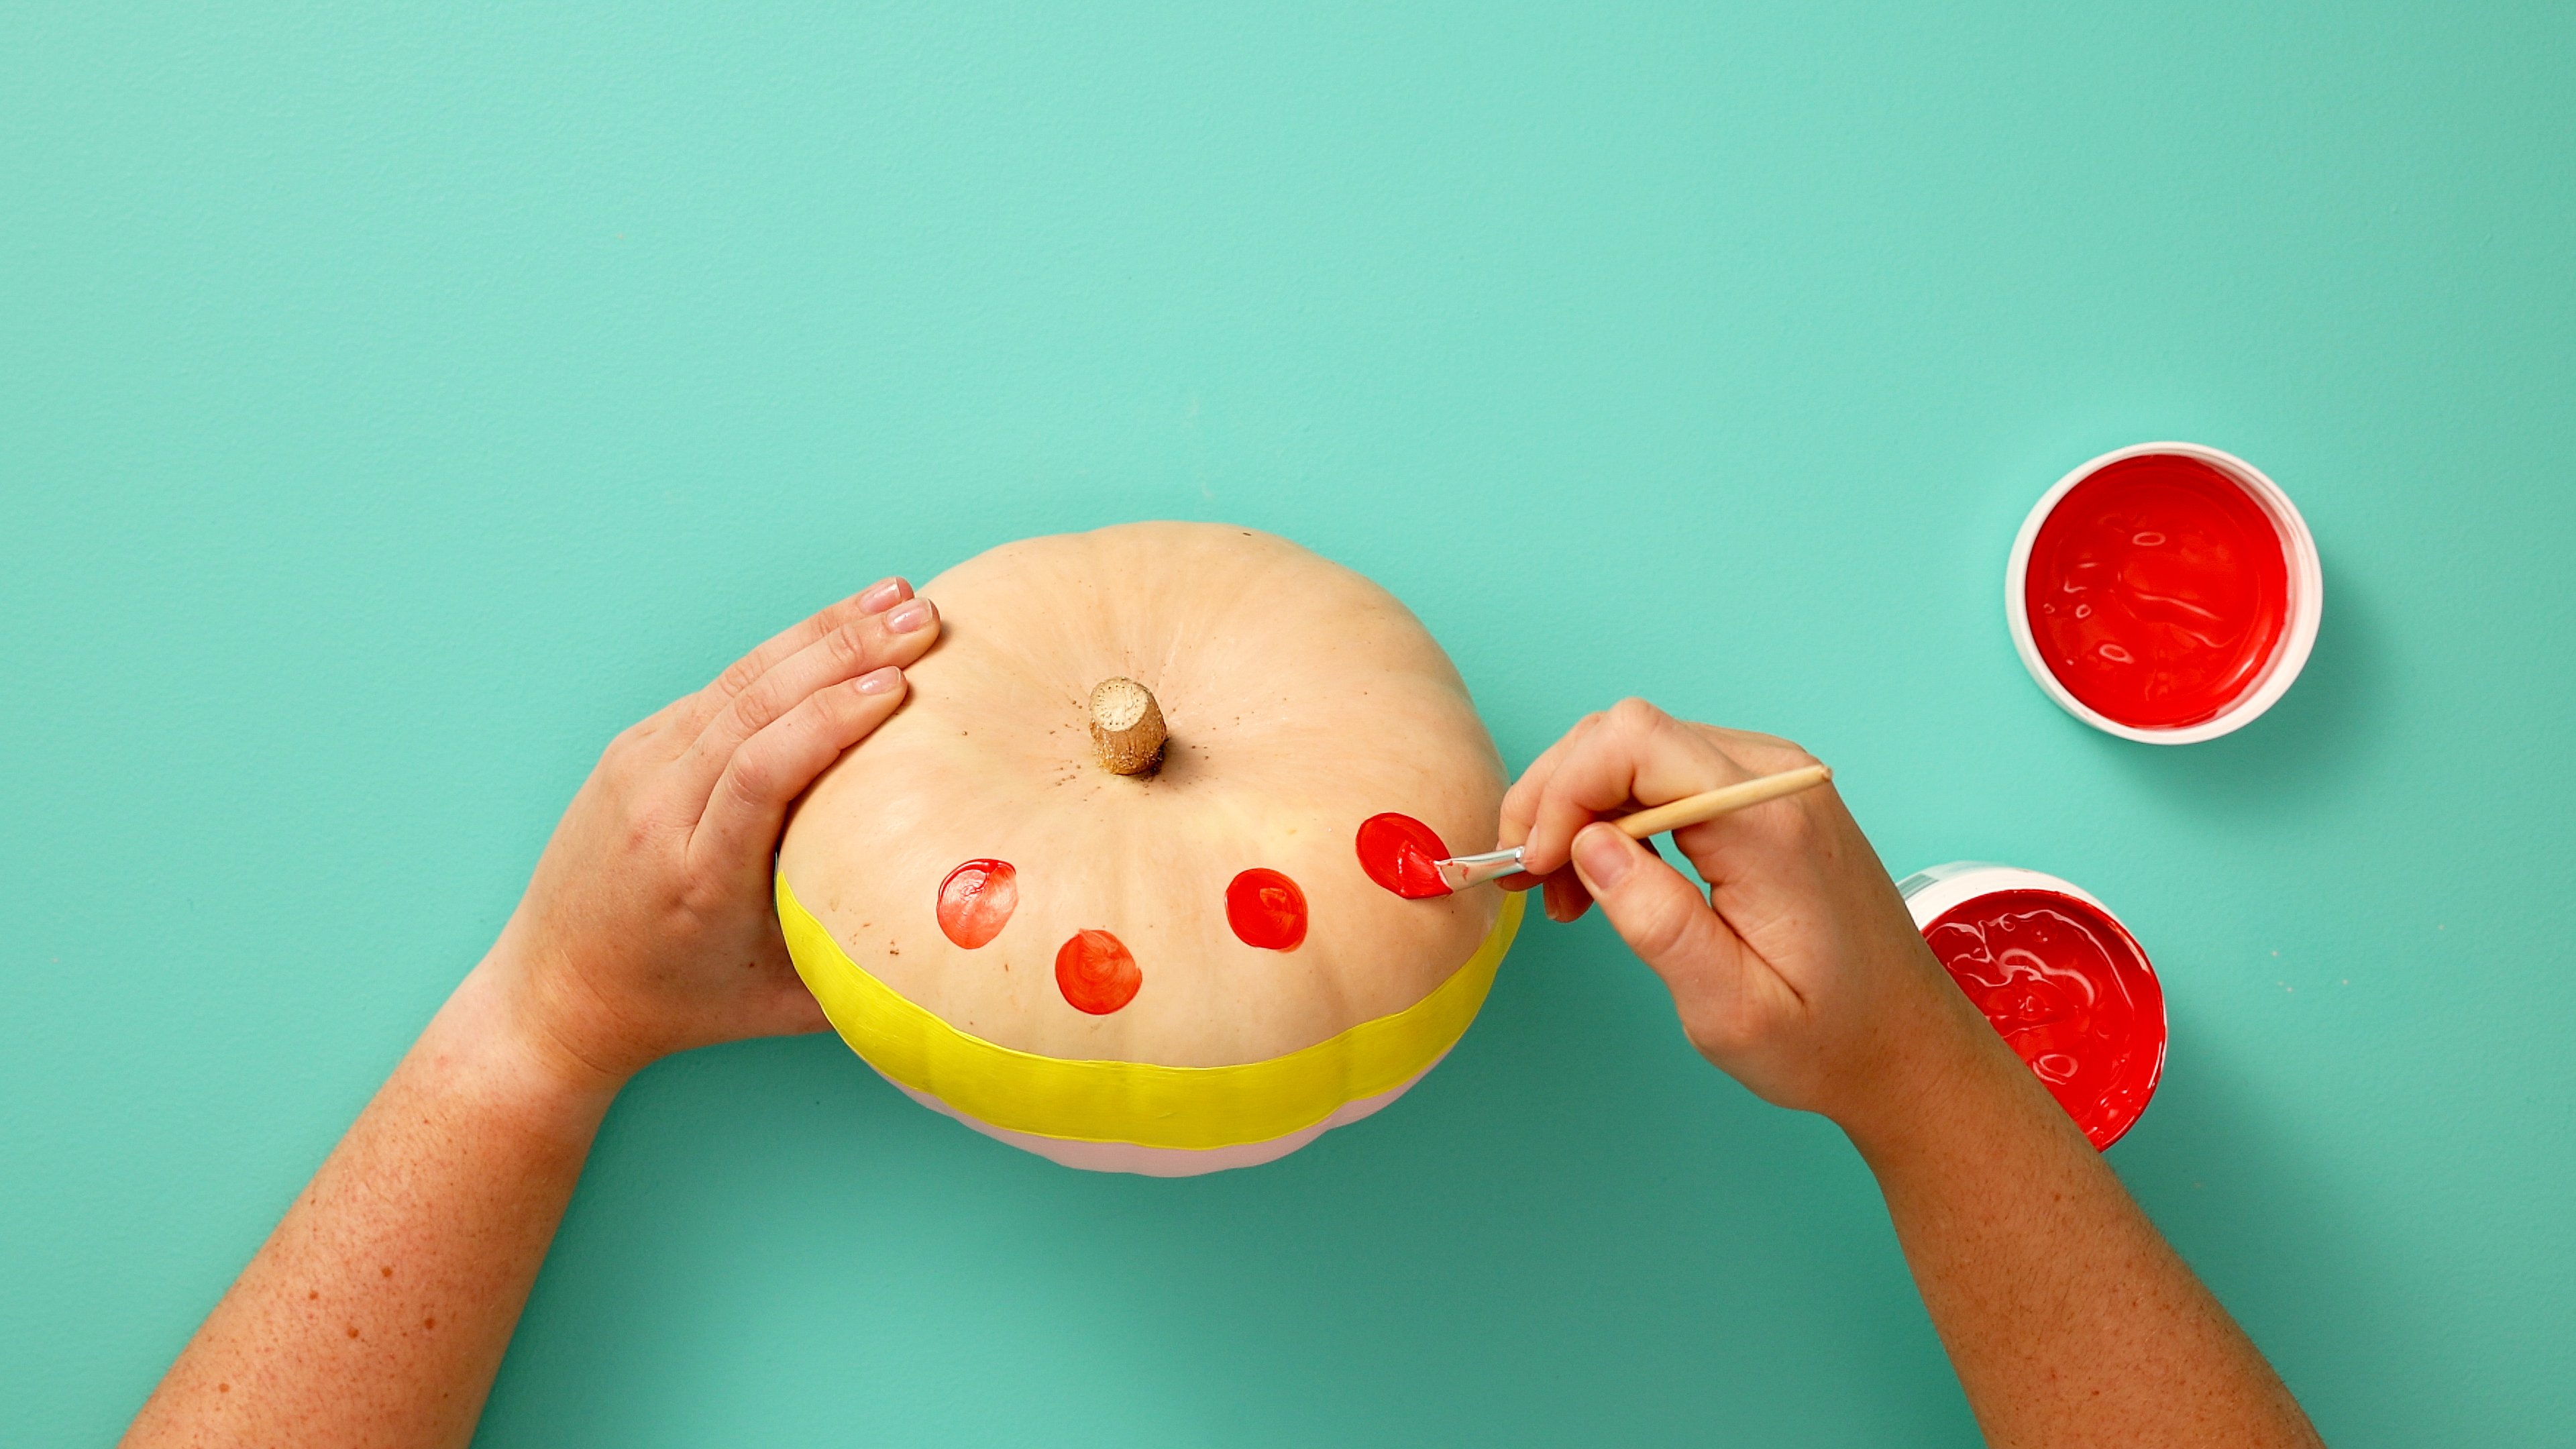
- Time to get painting: start with your first colour, allowing the paint to dry between coats. You may need 2 or 3 coats.
- Paint your design: continue with each colour you've chosen, making sure all paint is dry before adding to your design.
- Finish and display: once your pumpkin is looking boo-tiful, and is completely dry with all the finishing touches, it's ready to display! Place your painted pumpkins on your porch, in your window, or as a fun centrepiece on your table.
Now that wasn't so scary, was it? 🎃